My mother’s most beloved saying is, “You never know!” She applies it to every single thing: roll of paper the trunk of the vehicle, an additional pair of shoes in her handbag, a flame extinguisher in every room. There’s no limit to her “You never know” attitude.
If you’re like me, you know that mothers are generally right about everything. The truth is “You truly do never know”, and you’ll wish you’d been more ready in every situation. Therefore, this is an incredible project that brings back memories of my mother because this is exactly what she would like me to be carrying around at all times.
Here’s a handy step-by-step tutorial to make the ideal pocket-sized survival kit using a pill bottle. You’ll be happy you stored every one of those old pill bottles. The best part is that the majority of the other items that you will need are really cheap or even free.
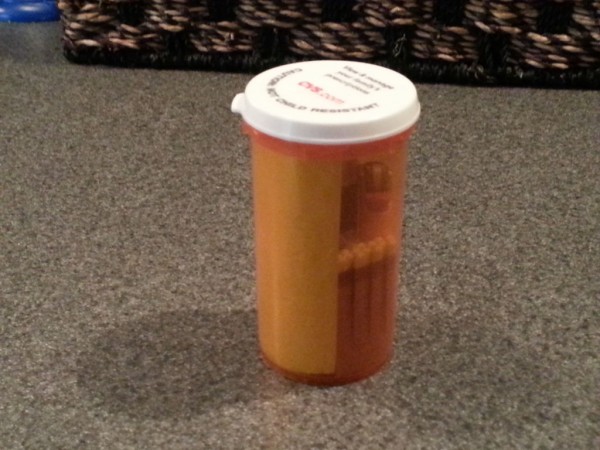
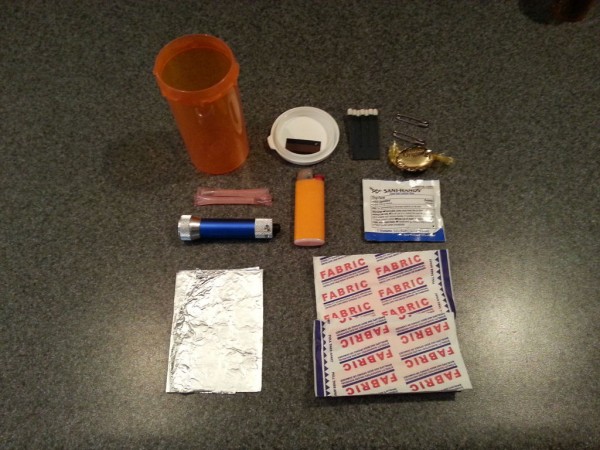
Remove the label of your medicine bottle, then clean it out really well. Begin to assemble the following items.
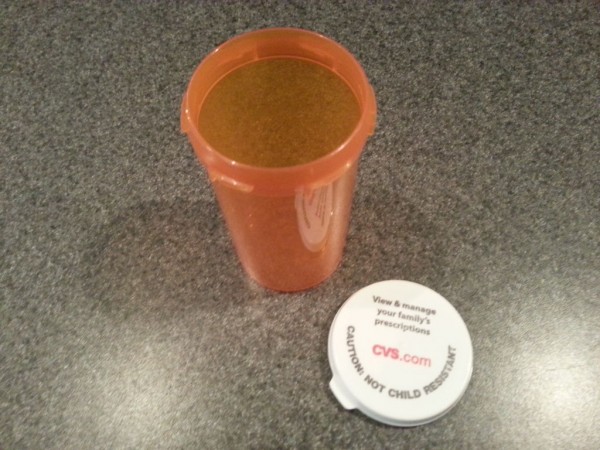
1. Emergency lighting. A two inch flashlight will fit perfectly in a pill bottle. If you experience a power outage, or you run out of gas in the middle of no where, you’ll be glad to have some light.
2. Matches. In case you need to light a candle or start a fire, you’ll be prepared.
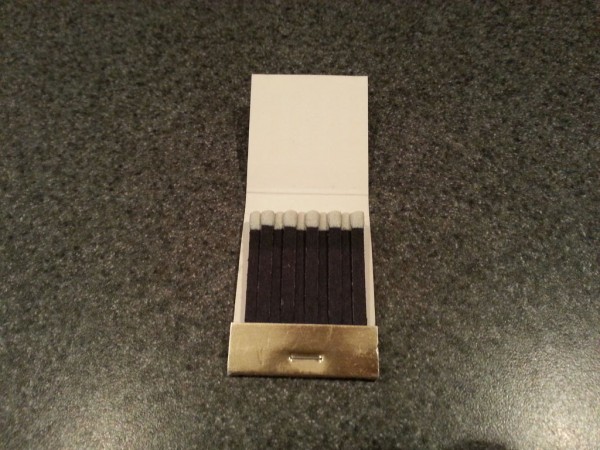
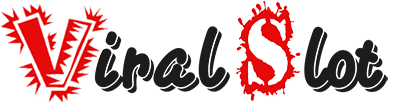
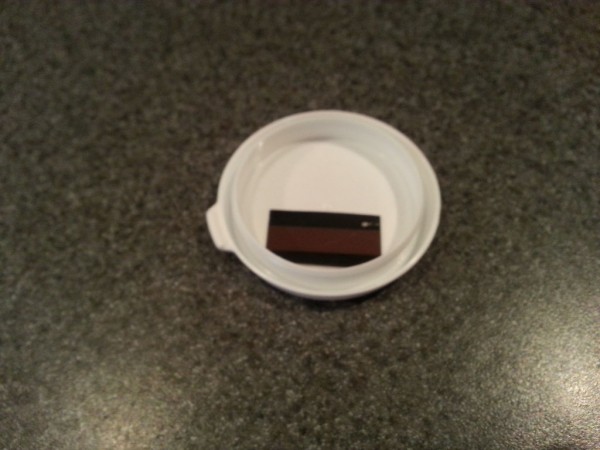
3. Strike strip. With some super glue, attach a strike strip to the inside of the bottle’s lid. This way, you’ll have a convenient place to strike your matches.
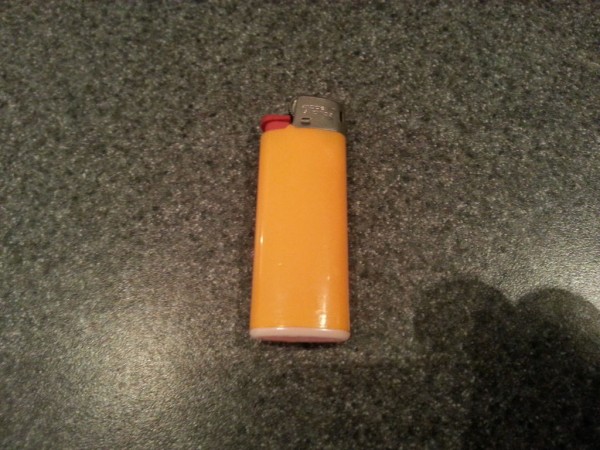
4. Miniature lighter. This is a good back-up in case your matches get wet, or you need additional lighting.
5. A piece of candy. If you’re on a long hike or stranded somewhere, your blood sugar may begin to dip, which is especially dangerous for diabetics. One piece of candy may save your life!

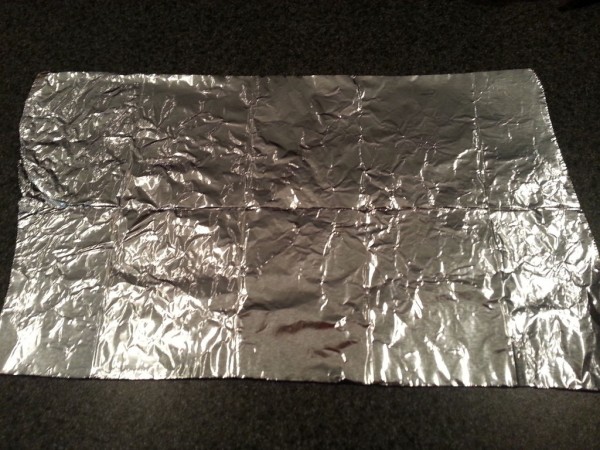
6. Aluminum foil. One square foot of aluminum foil has hundreds of different uses, like keeping food warm, repairing electronics, or signaling for help.
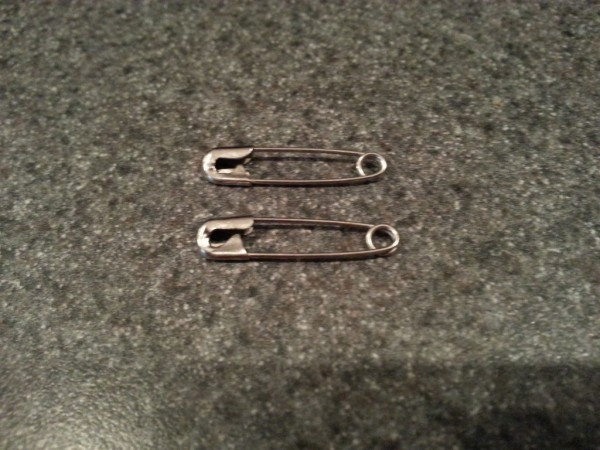
7. Safety pins. Although they seem simple, safety pins are crucial! They can fasten gauze around a wound, help to make a sling, or — when sterilized — dig out a splinter.
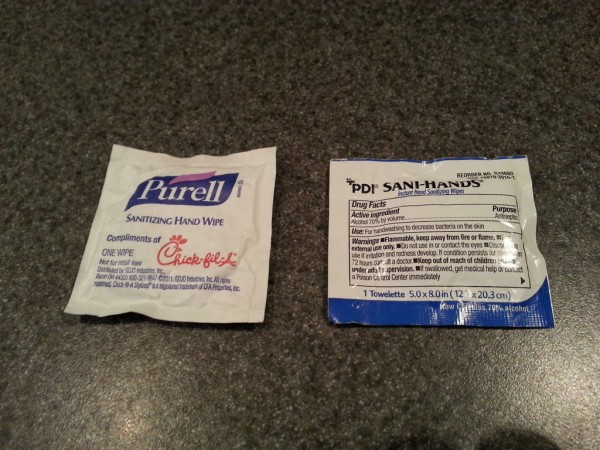
8. Sanitizing hand wipes. Sanitization is very important to survival. Clean a wound with one of these little wipes, then finish dressing it with the supplies below.
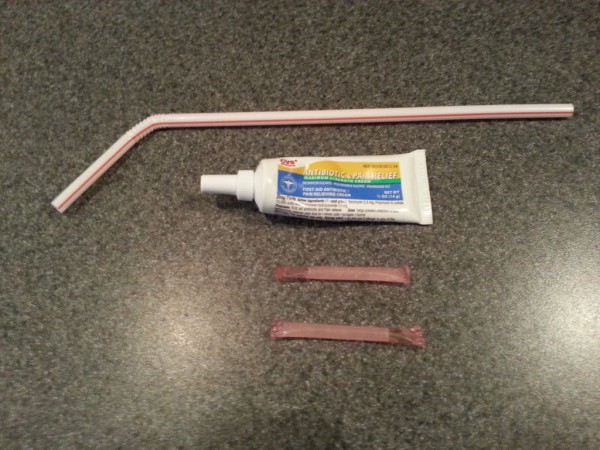
9. Antibiotic ointment. Individual packets of ointment can be expensive. Take a straw and cut it to the size of your medicine bottle. Fill the straw with ointment, then seal the ends.
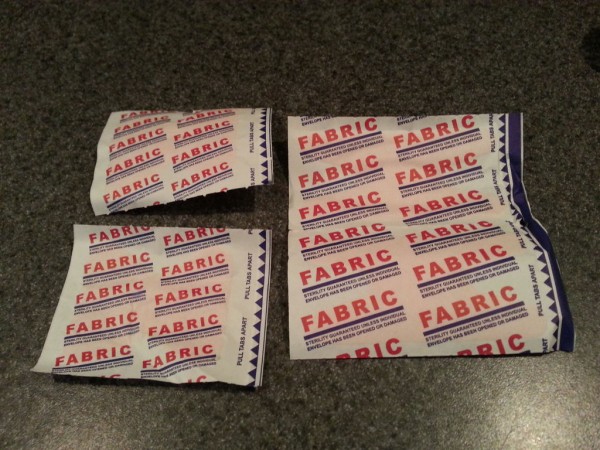
10. Fabric bandages. After your wound is sterilized and treated with antibiotics, you’ll need to keep dirt out. These bandages are perfect because of their flexibility.
11. Arrange your supplies, then neatly pack them into the bottle.
If you have extra room in your bottle, you might consider packing the following items: a fishing hook, fishing wire, strips of duct tape, gauze, tweezers, or a small pocket knife.
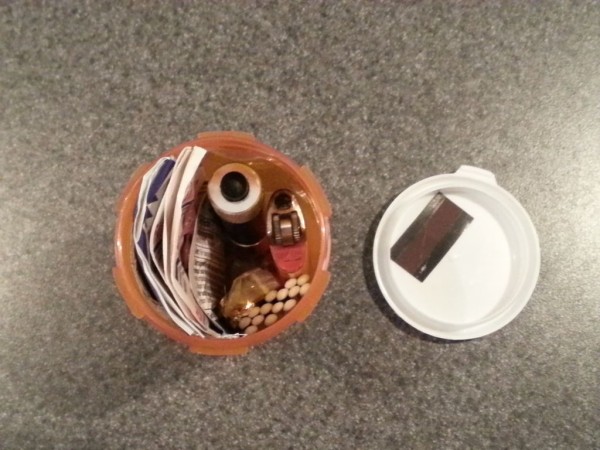
Now you have a complete survival kit that takes up very little room. It’s the perfect fit for your purse, backpack, pocket, or glove compartment.